安装
conda 安装
1
| conda install jupyter notebook
|
pip 安装
配置
生成配置文件
1
| jupyter notebook --generate-config
|
设置密码
1
| jupyter notebook password
|
修改配置文件
1
2
3
4
5
6
| vim ~/.jupyter/jupyter_notebook_config.py
修改以下配置,并把开头的
c.NotebookApp.ip = '*'
c.NotebookApp.open_browser = False
c.NotebookApp.port = 8888
c.NotebookApp.notebook_dir = u'/root/jupyter'
|
conda虚拟环境切换
需要安装关联Jupyter Notebook和conda的环境和包——“nb_conda”,命令如下
1
2
3
4
| conda install nb_conda
canda remove nb_conda
|
拓展安装
安装nbextensions插件
1
2
3
4
5
6
7
|
pip install jupyter_contrib_nbextensions
conda install -c conda-forge jupyter_contrib_nbextensions
jupyter contrib nbextension install --user
|
安装并启用 Jupyter Nbextensions Configurator
1
2
| pip install jupyter_nbextensions_configurator
jupyter nbextensions_configurator enable --user
|
之后便可在 url/nbextensions 的位置打开 configurator 进行设置了,例如启动 Jupyter Notebook 之后的网址为 http://localhost:8888/tree,那么 Jupyter Nbextensions Configurator 的设置地址则为 http://localhost:8888/nbextensions.
如果此时Nbextensions扩展功能后不显示标签,使用如下命令
1
| jupyter contrib nbextension install --user
|
启动jupyter
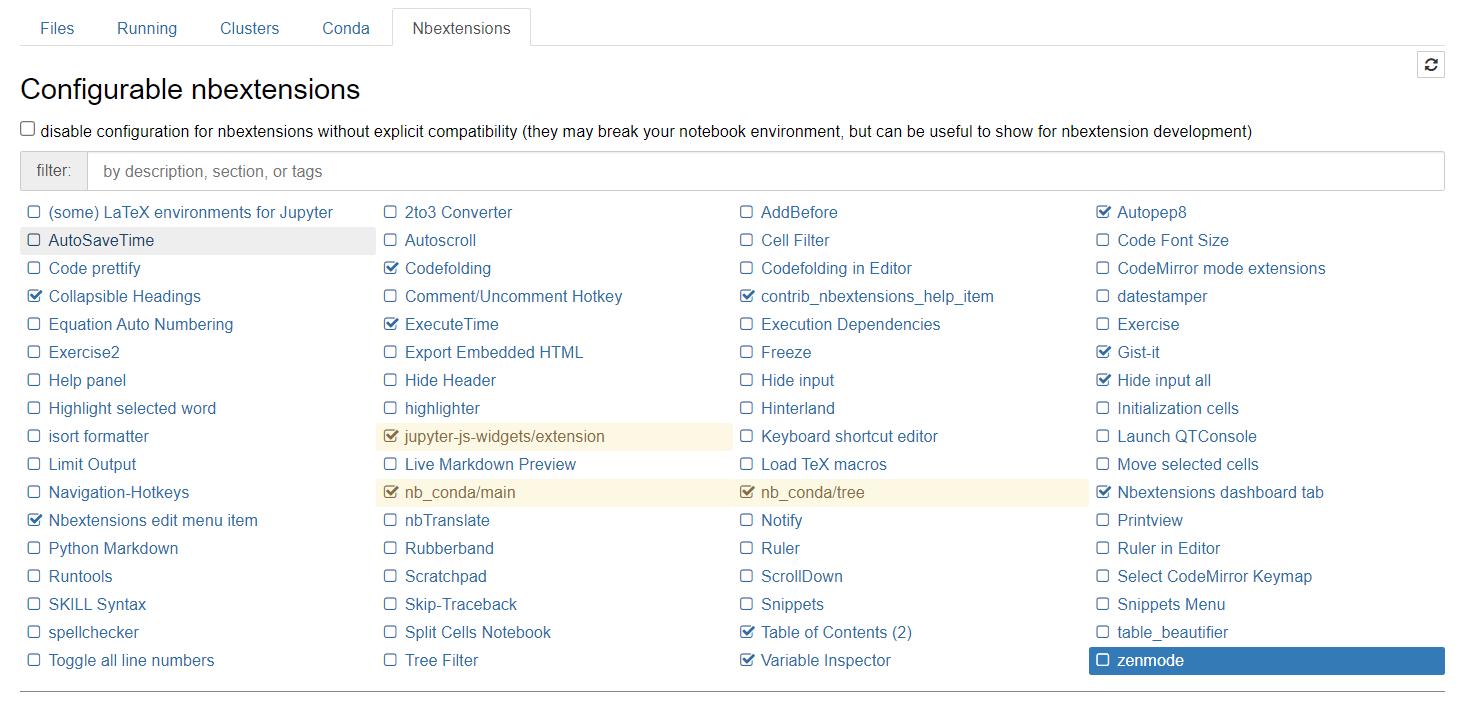
在终端输入jupyter notebook即可启动jupyter notebook,然后在浏览器输入http://ip:port即可访问,启动后大概如下图所示
![jupyterconfig]() jupyterconfig
jupyterconfig这个页面显示的就是nbextensions页面,可以选择自己喜欢的插件来安装,上面打勾的插件就是我安装的。
使用systemctl注册jupyter为服务
创建服务脚本
终端输入 vim /usr/lib/systemd/system/jupyter.service,将以下内容复制进去
1
2
3
4
5
6
7
8
9
10
11
12
| [Unit]
Description=Jupyter Notebook
After=network.target
[Service]
Type=simple
ExecStart=/root/miniconda3/bin/jupyter-notebook --config=/root/.jupyter/jupyter_notebook_config.py --allow-root --no-browser
Restart=always
RestartSec=10
[Install]
WantedBy=multi-user.target
|
启动jupyter并设置开机自启
1
2
3
4
5
6
|
systemctl daemon-reload
systemctl enable jupyter
systemctl start jupyter
|
nginx反代
先修改jupyter notebook的配置文件jupyter_notebook_config.py。增加下面两行。
1
| c.NotebookApp.base_url = '/jupyter/'
|
重启jupyter notebook
1
| systemctl restart jupyter
|
然后在nginx的配置文件中增加如下内容,重启nginx,即可用https://cruisetian.cn/jupyter访问jupyter notebook了。
1
2
3
4
5
6
7
8
9
10
11
12
13
14
| location /jupyter/ {
proxy_pass http://127.0.0.1:8888;
proxy_set_header Host $host;
proxy_set_header X-Real-Scheme $scheme;
proxy_set_header X-Real-IP $remote_addr;
proxy_set_header X-Forwarded-For $proxy_add_x_forwarded_for;
proxy_http_version 1.1;
proxy_set_header Upgrade $http_upgrade;
proxy_set_header Connection "upgrade";
proxy_read_timeout 120s;
proxy_next_upstream error;
}
|